Nextion, ESP32 Wifi, Sonoff & EweLink
Attention! We interrupt the development of our Mega IO Project for a hot topic!
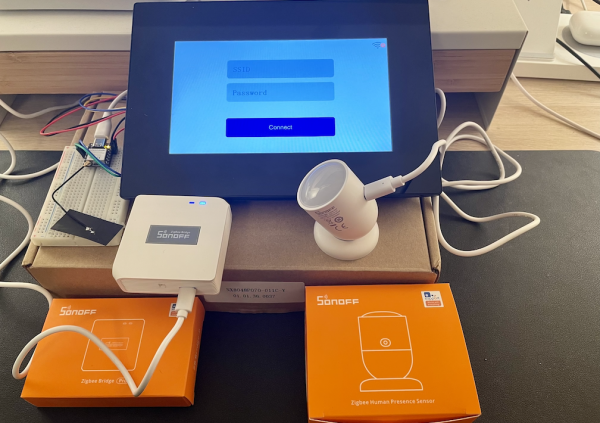
I recently got an email from my ITEAD colleagues in Shenzhen, asking me if I’d like to blog about their newest baby, the NEW!!! Sonoff Zigbee Human Presence Sensor SNZB-06P NEW!!!, connected to the EweLink Cloud with the help of the Sonoff Zigbee Bridge Pro on one side, and a 7″ Intelligent series Nextion HMI, linked to an ESP32 to provide the Wifi connection on the other side. I was baffled since the topic Nextion+Wifi has been on my agenda for a long time. I hesitated a few minutes, but then, I answered, telling them that it could be a good idea to bring something different from time to time, since the Mega IO project is a rather long term development thing and although I have many people following this, it might not satisfy everybody.
Thus, I decided to take a short break from the Mega IO project and started preparing this. A few days later, the Sonoff devices, the Zigbee human presence sensor and the Zigbee bridge Pro came with DPD from China to France. The NX8048P070-011C-Y was already patiently waiting in one of my 3 huge drawers where I stock almost every Nextion HMI model, series, and size available on the market.
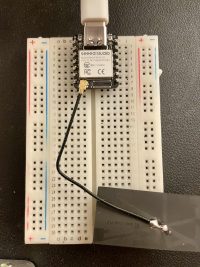 The only thing I had not at hands was the recommended Arduino Nano ESP32. When I tried to order one, I found that it was particularly expensive and there were extended shipping delays. So, I looked for alternatives and found the small and nifty XIAO-ESP32S3 from Seeed Studio. It costs $7.49, only a third of the Arduino, is fully code compatible, but has fewer (eleven) IO pins. But that isn’t a problem, we only need a RX and a TX pin for the Nextion, everything else will be handled over Wifi. Nevertheless, 9 pins will remain free for other extensions if needed, I2C, SPI, GPIO and even I2S are available, thanks to the intelligent pin multiplexing of the ESP32S3.
What I like very much is that it comes with a small detachable external self-glueing Wifi antenna which allows much more flexibility when creating boxed projects.
Here is the material list of everything which is needed for this project:
1x SONOFF Zigbee Bridge Pro, 1 – 4x SONOFF Zigbee Human Presence Sensor(s) now available for order, 1x Nextion 7″ Intelligent series NX8048P070-011C-Y HMI, 1x Arduino Nano ESP32 or Seeed Studio XIAO-ESP32S3, and last but not least, a few Dupont wires.
The EweLink setup
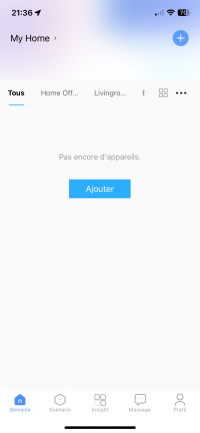
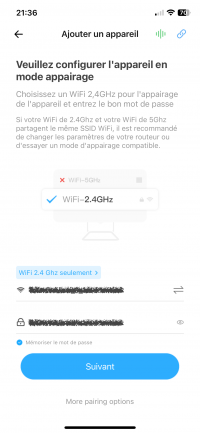
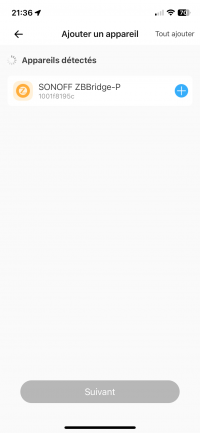
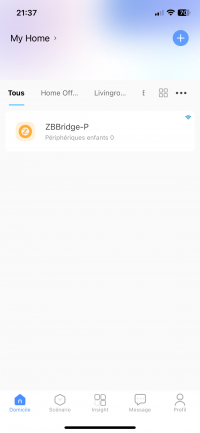
Until you’ll have gathered the required materials, you may already download and install the free EweLink 5.0 app onto your cell phone and create your free CoolKit account from inside the app. As soon as the SONOFF devices arrive, these can be added with a few finger taps to your home configuration. You may follow the example pictures below. Unfortunately, although I set the language parameter to English, the EweLink app displays some elements in French after having detected that I’m based in France, thus, you’ll probably not have the same problem.
Step 1: Adding the Zigbee Bridge Pro
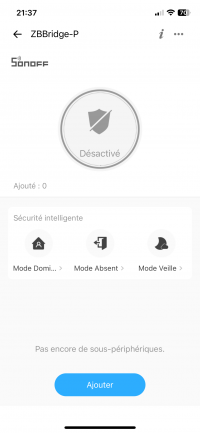
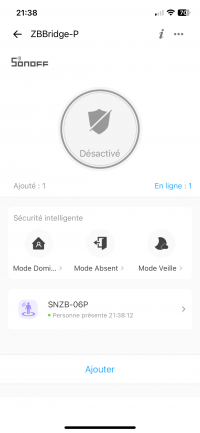
Step 2: Adding the Zigbee Human Presence Sensor
The Nextion and the ESP32 Wifi side
… will follow next week. It’s heavy stuff since the ESP32S3 has to build a Wifi connection with your local Wifi first, and the with the EweLink cloud, where you have to tell it all parameters by typing in 2 configuration screens on the Nextion. Then, there will be the main screen which displays the status of up to 4 human presence detectors in real time… we’ll see.
Looking forward to next Sunday!
For today, thanks for reading and happy Nextioning!
Questions, comments, critics, suggestions? Just send me an email to thierry (at) itead (dot) cc! 🙂
And, by the way, if you like what I write, and you are about to order Nextion stuff with Itead, please use my referral link! To you, it won’t make a change for your order. But it will pay me the one or the other beer or coffee. And that will motivate me to write still more interesting blogs 😉


