Professional HMI project design
Last step: Add the GUI, a few details, and ready!

This is the third and last part of this article series where we wanted to have a deeper look on how to develop a Nextion project systematically, efficiently, and at a professional level. After we talked about gaming mathematics and win plans in the first part, and about animation and timing in the second part where I showed you already a raw proof of concept, it’s now time to add a nice GUI and the credits handling, and to adapt and to assemble all the code snippets elaborated during the previous articles, and then, we’ll be done!
The page background picture
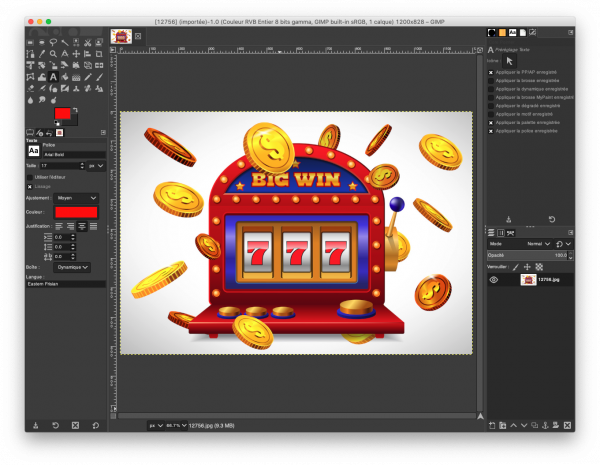
Remember the featured image of part 1? I found it so nice and appealing, that I decided to use it as a full screen background picture. To save memory, I did NOT add a full screen picture component to the page, but I set the page’s .sta attribute to “image” and the .pic attribute to “0”. But before, I had to do some preparation work to make it fit for our purpose. Originally, this was a 1200 x 828 px jpeg file, so it needed some processing. In a first step, I ported it into GIMP which is a freeware alternative to Photoshop, but any other pixel graphic software will do, some more, some less comfortably…
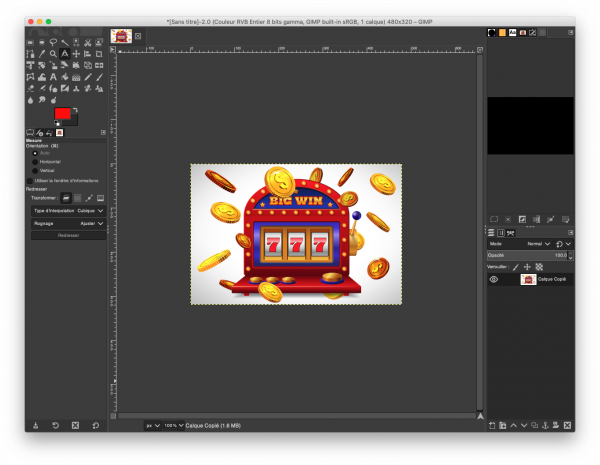
In a first step, I resized it proportionally for 480px width, which gave a 331px height. Thus, I had then to crop the white space a little at the top and at the bottom to obtain the desired 480 x 320 px format.
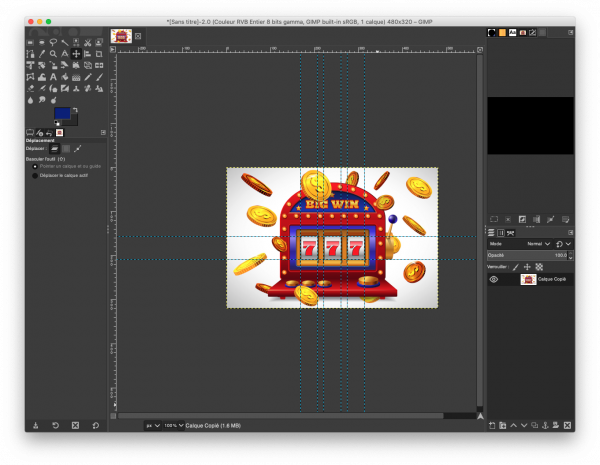
Since I knew that I’d have to place text components over the 3 number “7” fields, I used GIMP’s guide lines to detect already the size and positions of the latter. That’s how I found that these needed to have all a common .y attribute (157), a common .width (39), a common .height (53), and naturally different equally spaced .x values (169, 222, and 275 respectively).
Finally, I exported the result in the format which is most close to the Nextion’s internal picture handling to make sure that colors, dimensions, and quality would match, as a .bmp file with RGB565 color encoding.

So, I could import it into the picture resource pane and set the page’s attributes accordingly. I re-used my proof of concept project from last week, that’s why there are still the too big text components and the start/stop button, but when starting from scratch is the same effort.
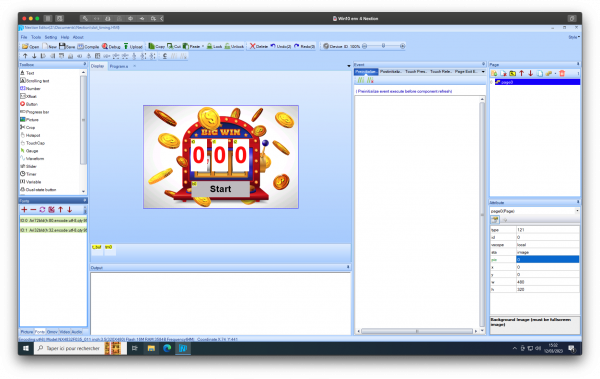
At the same time, and since I knew already the size of the 3 text components to place over the “7 7 7”, I generated a suitable font, choosing Verdana 48px bold to make sure that it would look good in a 39 x 53 px tall component. And I resized and repositioned the text components t0, t1, and t2 as discussed above.
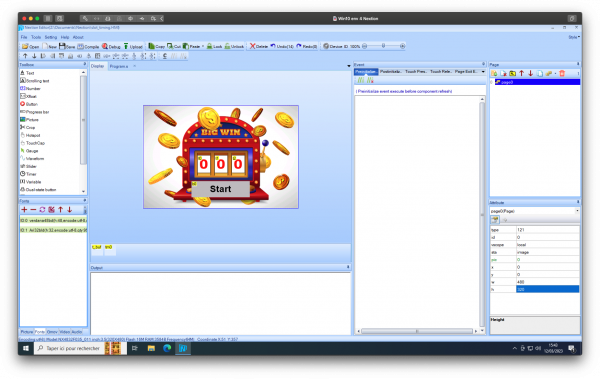
Now, the ugly Start/Stop button had to relooked. I set its .sta attribute to “crop image” and I selected 0 as its .picc and .picc2 attributes which makes it pseudo-transparent. I replaced its actual font by a 16px Segoe UI bold and choose the color 65260 which gives a nice contrast and fits well with the coins flying around. At the same time, since I did not longer want the button’s caption to be the status display at the same time (it was ok before, for testing and debugging), I added a text component t3 to the white space below, selected the same small font, but this time in the same red color as t0 to t2 to have things coherent. Again, the .sta attribute is “crop image” to make it pseudo transparent.

You can’t yet see the status text here since no status has happened yet, but you will discover two additional components in the bottom left corner, a text component t4 with the static “Credits:” text, and a number component n0, displaying the actual credits, both pseudo-transparent and the same red .pco as t3, so that things look clean and coherent, and no-one would complain about eye cancer 😉 .
The “Credits” thing
To make everything easy to understand, the credits are pre-loaded to 150 at startup (page postInitialize event), each round you play will subtract one credit, rewards will simply be added, and if the credits fall down to 0, the status field will display “No credits!” and you’ll have to reboot the Nextion to fill up. Everything is in place and documented in the code, so that you may easily fill up the credits from an external MCU over serial with for example sendCommand(“n0.val+=50”). Or you might use the 3.5″ Enhanced series’ GPIO to connect a real coin operator… I let it up to your imagination!
Now, to the code !
Most of it has already been shown in the previous 2 articles, I will concentrate on what has been added or changed. The biggest change is that I merged the code from part 1 and part 2 which requires some extra variables in program.s. The corresponding 2 lines are bold. Everything else is the default by the Editor, I just disabled the sys0 to sys2 variable declaration and the sending out of the boot sequence over serial. This saves memory and boot-up time.
//The following code is only run once when power on, and is generally used for global variable definition and power on initialization data
//int sys0=0,sys1=0,sys2=0     I disabled these since not needed, saves memory
int tim_default=80,tim_min=125,tim_max=375,tim_add=30,tim_stop=500,tim_ticks=0,slow_down=0 //This is from part 2
int tmp,x,reward,result=0 //This is from part 1
baud=9600//Configure baudrate
dim=100//Configure backlight
recmod=0//Serial data parsing mode:0-Passive mode;1-Active mode
//not needed: printh 00 00 00 ff ff ff 88 ff ff ff//Output power on information to serial port
page 0                       //Power on start page 0
There is one new line in the page0 Postinitialize pane to preload the credits.
n0.val=150 // Initialize creditsThen, our start-stop button has to check if there are credits. The added code again is in bold.
if(tm0.en==0)
{
  // wheels are not spinning, we may start if we have credits
  if(n0.val>0)
  {
    n0.val-- // this round costs 1 credit
    randset 0,4095 // 12bit range
    slow_down=0
    tm0.tim=tim_default
    tim_ticks=0
    tm0.en=1
    t3.txt="Running"
  }else
  {
    t3.txt="No credits!"
  }
}else
{
  // start slowing down
  slow_down=1
  t3.txt="Stop request"
}
Finally, the timer event code sees the whole win check thing from part 1 added.
// generate a 3 digit hex random number and convert to text
result=rand
covx result,t_buf.txt,4,2
// display the singe digits in the corresponding text components
substr t_buf.txt,t0.txt,1,1
substr t_buf.txt,t1.txt,2,1
substr t_buf.txt,t2.txt,3,1
// increment the virtual clock
tim_ticks++
// check if spinning longer than timeout
if(tim_ticks>tim_max)
{
  // automatic stop condition after timeout
  slow_down=1
  t3.txt="Timeout"
}
// check for slow down request
if(slow_down>0&&tim_ticks>tim_min)
{
  // slow_down requested and min time elapsed => decrease speed
  tm0.tim+=tim_add
}
if(tm0.tim>tim_stop)
{
  // if too slow, stop fully
  tm0.en=0
  tmp=result%273 // 273 is hex 111
  if(tmp==0)
  {
    // this is a win situation, let's compute the reward
    t3.txt="You won!"
    x=result&0x0000000F // isolate the last digit
    reward=x<<1+1*24>>1 // left and right shifts by 1 bit replace multiplication and division by 2
  }else
  {
    // loss situation, no reward
    t3.txt="You lost!"
    reward=0
  }
  // Add the reward to the credits
  n0.val+=reward
}
And that’s the whole thing. As usual, you don’t need to copy/paste or retype everything, you can download the complete .hmi file with all resources to play with it, either on a real display or in the simulator, to study the code or to modify things to taste. You are also allowed to re-use the whole code or parts of it in your own projects. slot_timing.HMI
Here, you can see it in live action:
Thank you for reading and happy Nextioning!
Questions, comments, critics, suggestions? Just send me an email to thierry (at) itead (dot) cc! 🙂


