The Sunday blog: HMI, cybernetics and the steam engine
Part 6: Professional graphics
In the last episode we have dealt extensively with the Nextion HMI code. With it we already succeeded in “unpacking” the 30bit status message of our virtual dishwasher and saving all details in separate variables. For testing purposes, we then wrote some sample data in text and number fields, but the result was still visually unsatisfactory. That’s why we want to work on the graphical frontend today and learn how to do it efficiently!
Much of the information that we can and want to display has only two states, logical 1 or 0, which can be displayed using an active and an inactive variant of the same icon. To do this, you can now take a picture object and assign different picture resources to it by code. This also means that you would have to create two picture resources of the appropriate size for each icon and import them into the HMI. Static text, which may need to be displayed differently depending on the status of the machine, requires the generation of font resources, possibly in different sizes and variants. If you want to make the whole thing multilingual, the project will quickly become complex and confusing!
Packing on the visual side
To avoid this, we again use a technique that packs as many of the graphic and font resources together as possible: We simply create two images in full screen resolution. The first one contains all elements in their inactive version, the second one in the active version. So the question of positioning the elements is already solved and you only have two image resources to import. In the HMI we then only need Crop objects to represent changing states, or Progress Bar objects to represent finer graded transitions from the inactive to the active state.
For this we need a software that has the following features: layers and guides. Using layers allows us to quickly create two variants of the same icon, and then make one and the other visible for export. The guides allow pixel accurate drawing and positioning. This makes graphic work faster and more professional than in the Nextion editor. For example, you can use Photoshop or the free Gimp. The latter is my favorite.
Step by step into graphics
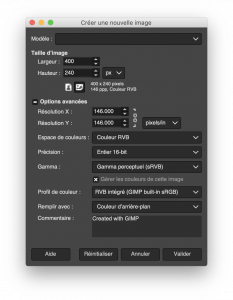
Let’s start by creating a new file with the correct size in pixels (400×240 for our 3.2″ display) and the correct resolution in pixels/inch (see the data sheet of the display). As background color we use an unobtrusive dark grey. For working we set the zoom to 200% so that we can see all details. Due to the enlargement, fonts are a little blurry on the screen, but in the exported file everything will be sharp.
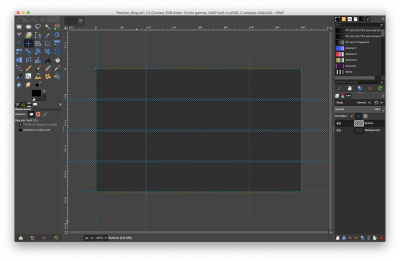
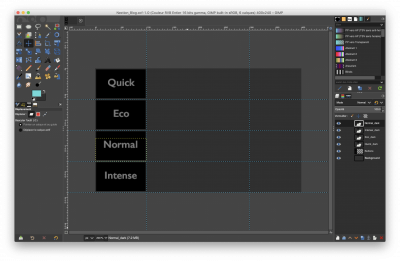
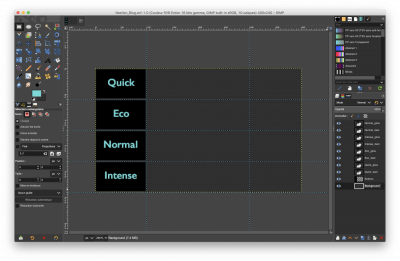
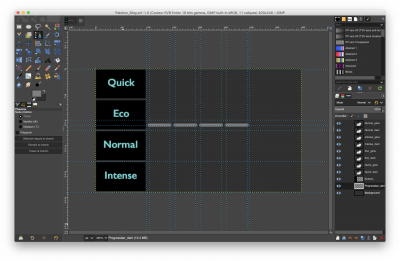
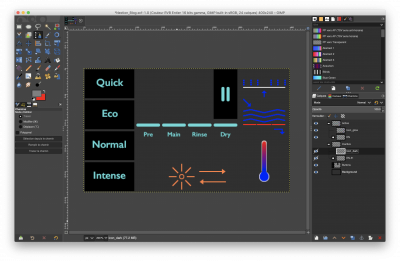
Then we add a first layer and use guides to first make a rough division and then draw the background for our 4 program buttons one after the other. Then we put the captions in the pale version over them. Text boxes are always independent layers in Gimp. We duplicate the four text boxes and change the text color to create the highlighted version.
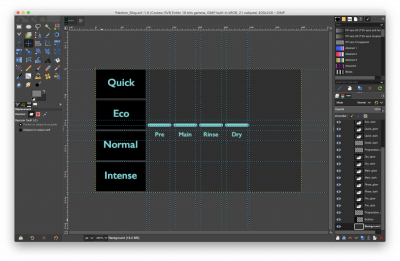
Exactly the same way we create two layers with the progress bars for the subprogram, each pale and bright with the corresponding texts.
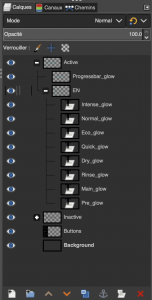
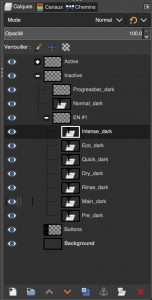
If we now look at the list of layers in the bottom right-hand corner of the Gimp screen, which has already grown to 20 elements, we see that it is time to create some order. The background, as well as the layer with the backgrounds for the buttons remain unchanged, because they should remain visible in both variants, active and inactive. Then we create two group folders, of which we call one “Active” and the other “Inactive”, to move the respective layers into them. For the text elements, we create a subfolder “EN”, which makes it even easier to see if we want to add another language variant at some point.
We then continue in this manner until our HMI design is complete with all icons for temperature, water inlet, heating, water outlet and spray arm. Finally, we draw the warning lights for missing rinse aid and regeneration salt.

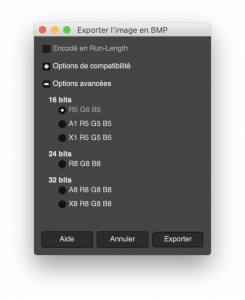
Now comes the big moment. We use the possibility to hide the active and inactive folders alternately to export one bmp each. To exclude color falsifications, we choose the 16bit Nextion format (R5G6B5).
Create a beautiful HMI
Now we can continue working in the Nextion Editor. First we import the inactive image, which gets the ID 0, then the active image with ID 1. Very quickly we placed the crop objects instead of buttons and icons, the .pic property always to 0. If we set .pic=1, like here for testing, the corresponding element lights up!
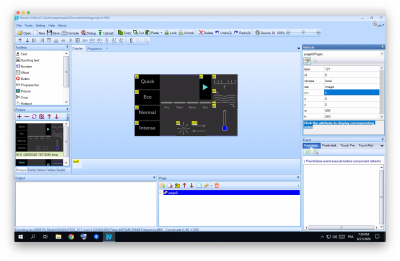
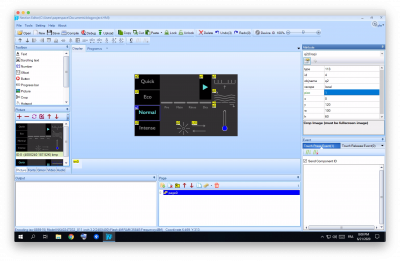
Then the nice idea would be to place a progress bar object in the same way over the progress bar for the subroutine, over the water level and over the thermometer. Unfortunately, the progress bar in the current editor version can use an image resource for background and foreground, but it still lacks the possibility of cropping from the background image. Therefore, we inevitably place a Crop object over each of the 4 subprogram sectors and over each of the 3 water level indicators.
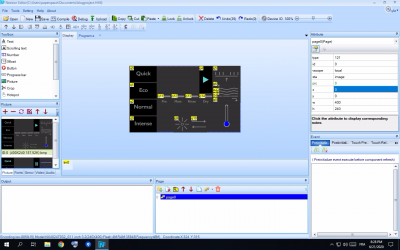 Only for the thermometer we will have to return to our graphics program, generate two sections and import them as separate picture resources, hoping that this shortcoming will be fixed in one of the next editor versions. Then we can create a vertical progress bar. Finally, an Xfloat object for the remaining time display and the graphical work is done!
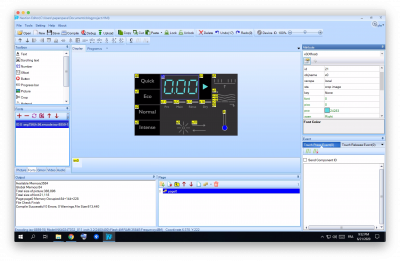
A part of our timer code for updating the display which we wrote in the last episode has of course become obsolete due to the omission of the simple text and number objects. How we address our graphical elements by code will be shown in the next (and last) episode of this blog series. Until then, I wish all readers a lot of fun with their graphic design!


